 Recall
Timeline and conversations
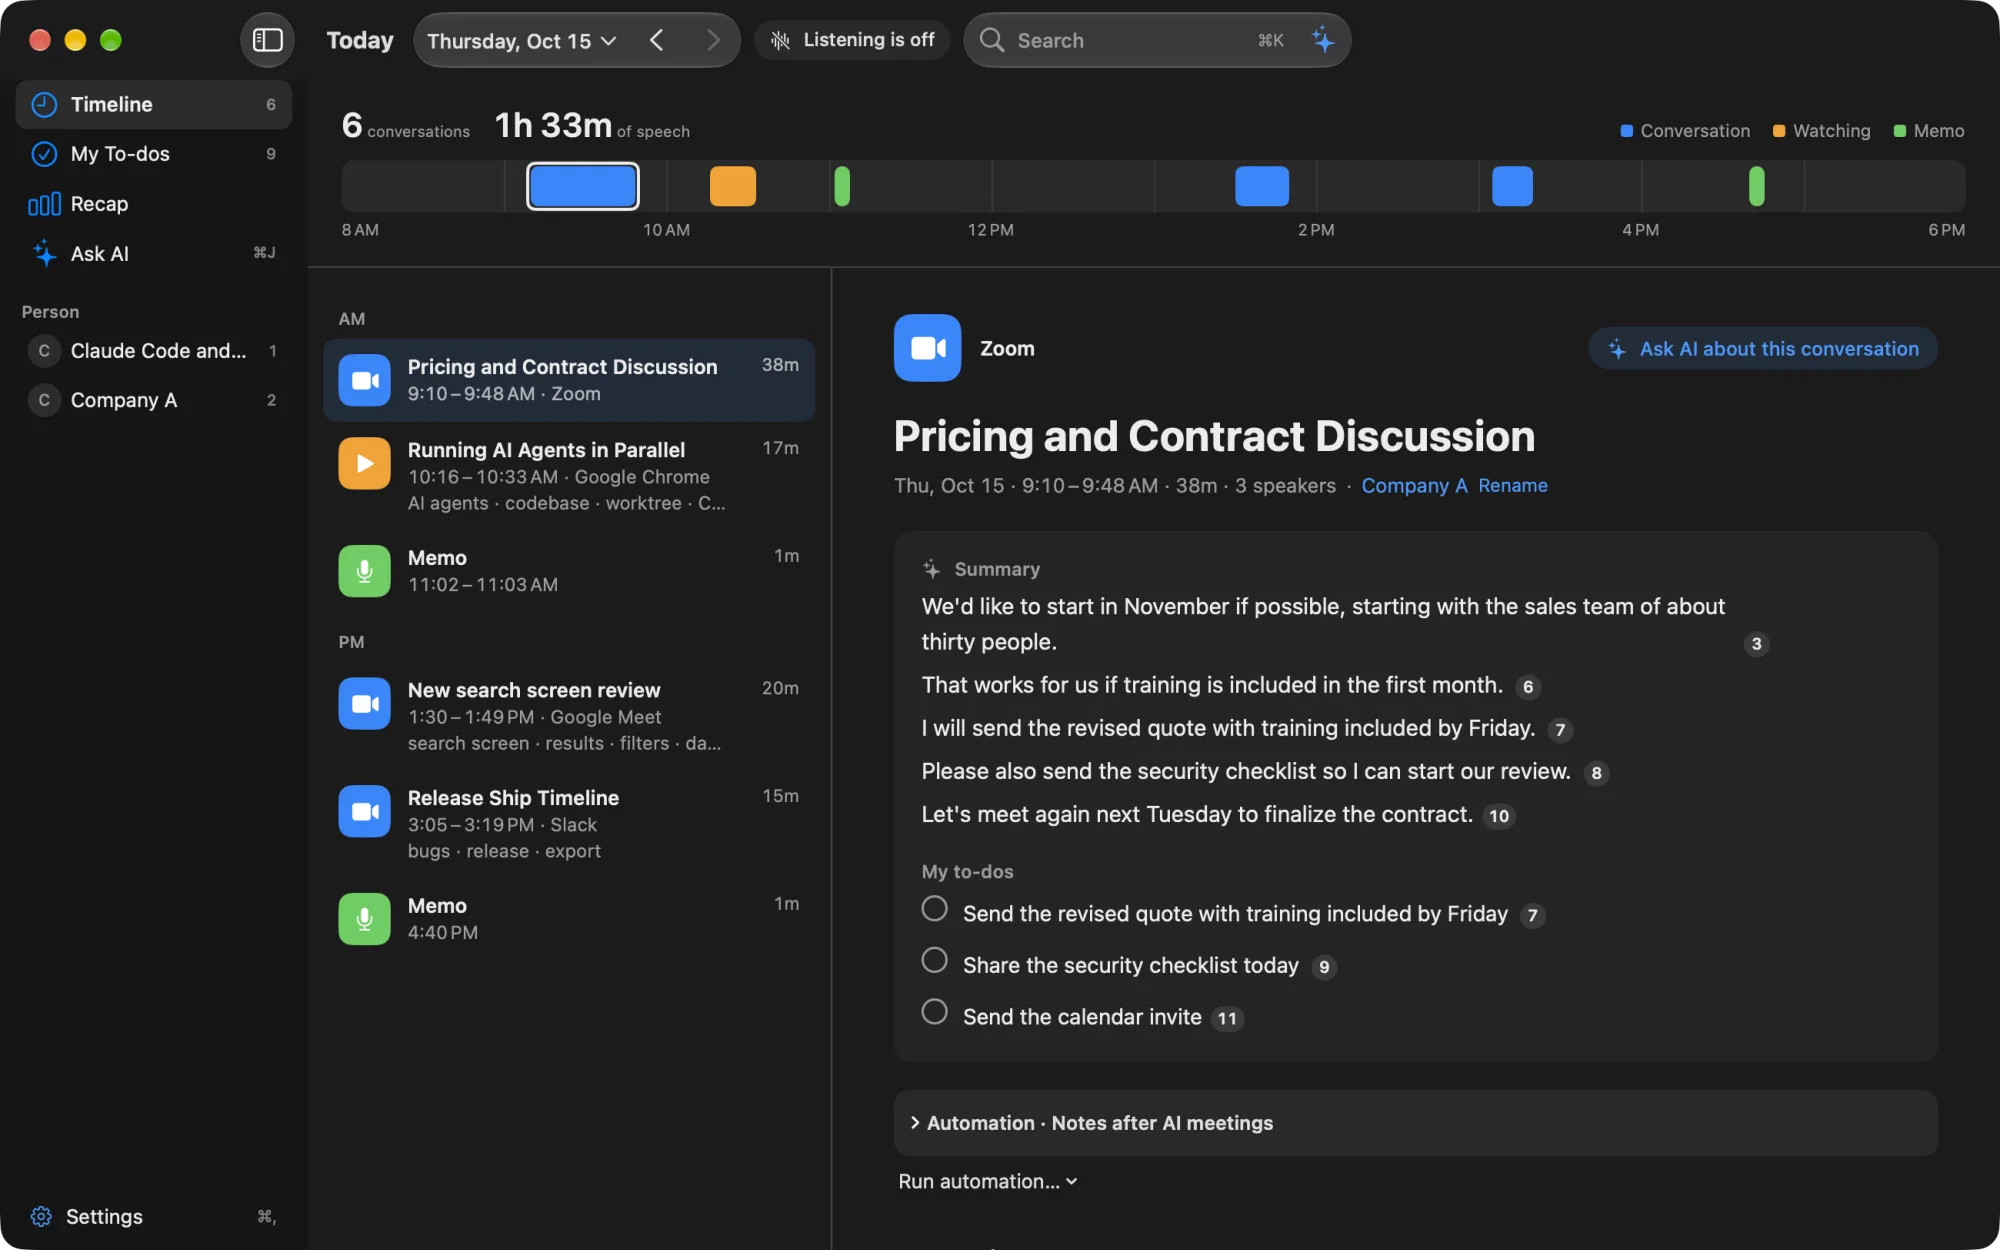
The conversations Recall heard line up on a one-day Timeline. Select a conversation and its summary, my to-dos and transcript appear beside it.
Timeline
The main window (⌘0) is a one-day Timeline. Conversations line up as colored segments in the bar at the top, and a list for the morning and afternoon appears below. The summary, my to-dos, topics and transcript of the selected conversation appear beside it.
The colors show the type of conversation: Conversation (you and others), Watching (others only; videos and webinars), Memo (you only). To go to another day, use the calendar on the date button (Calendar).
Summary, topics and my to-dos
When a conversation ends, the On-device AI writes a summary, topics, decisions and “My to-dos”. While it works, it shows “Writing the summary”. The person for the conversation is chosen from the names that appear in the transcript, and you can change it in the heading of the details (People).
“My to-dos” are the things you took on in the conversation, and “Their to-dos” are what the other side took on. They are the same as the commitments in the assistant. When you mark one done, it is also done there (for theirs, it counts as “Received”).
Conversation materials and link suggestions
Below the summary is the conversation’s note (the one written in the Live Panel). “Materials for This Conversation” lists the notes and files linked to the conversation; add a file with “Attach” or write a new note from there. Files dropped on the Live Panel during the meeting go here too.
When a note that is not linked has content close to this conversation’s lines, “Link to a conversation?” appears. “Link” adds it to the materials; after “Don't Link”, Recall doesn’t ask again for this conversation (Notes).
Workflow results also show in the conversation’s details. Run a manual workflow with “Run Workflow…” (Workflows).
Speaker names and merging
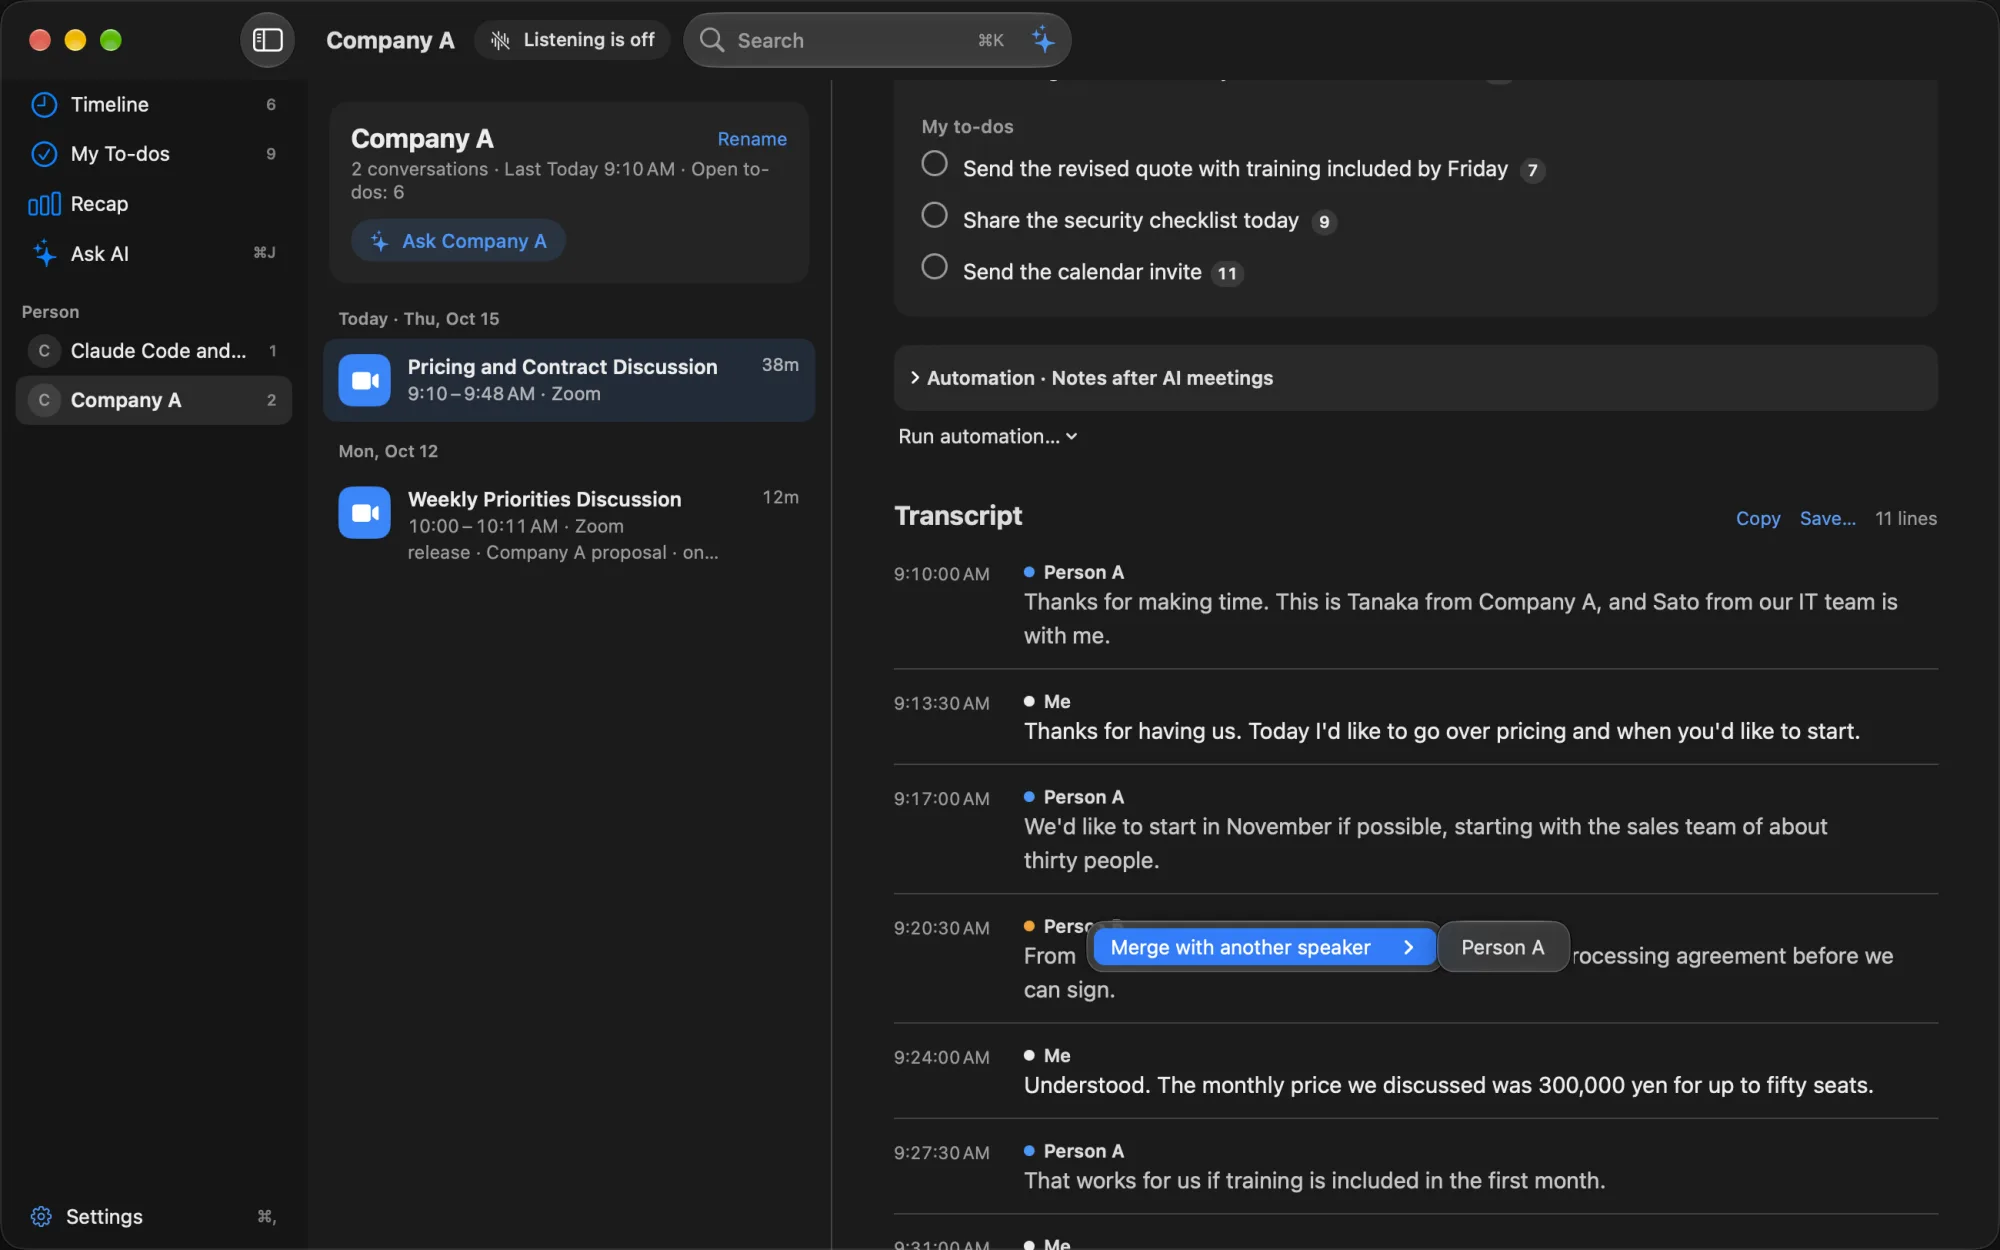
Speakers in the transcript appear as “Me”, “Person A”, “Person B” and so on. Click a speaker’s name to rename it; the new name applies to every line in that conversation.
When one person is split into two speakers, right-click the speaker’s name and choose the speaker to merge into from “Merge with another speaker”. After you confirm, that speaker’s lines appear under the name of the speaker you merged into. The menu also shows the labels, as in “Tanaka (Person A)” and “Tanaka (Person C)”, so you can tell two speakers with the same name apart. You can undo a merge with “Split out …” in the menu of the name you merged into.
Source numbers
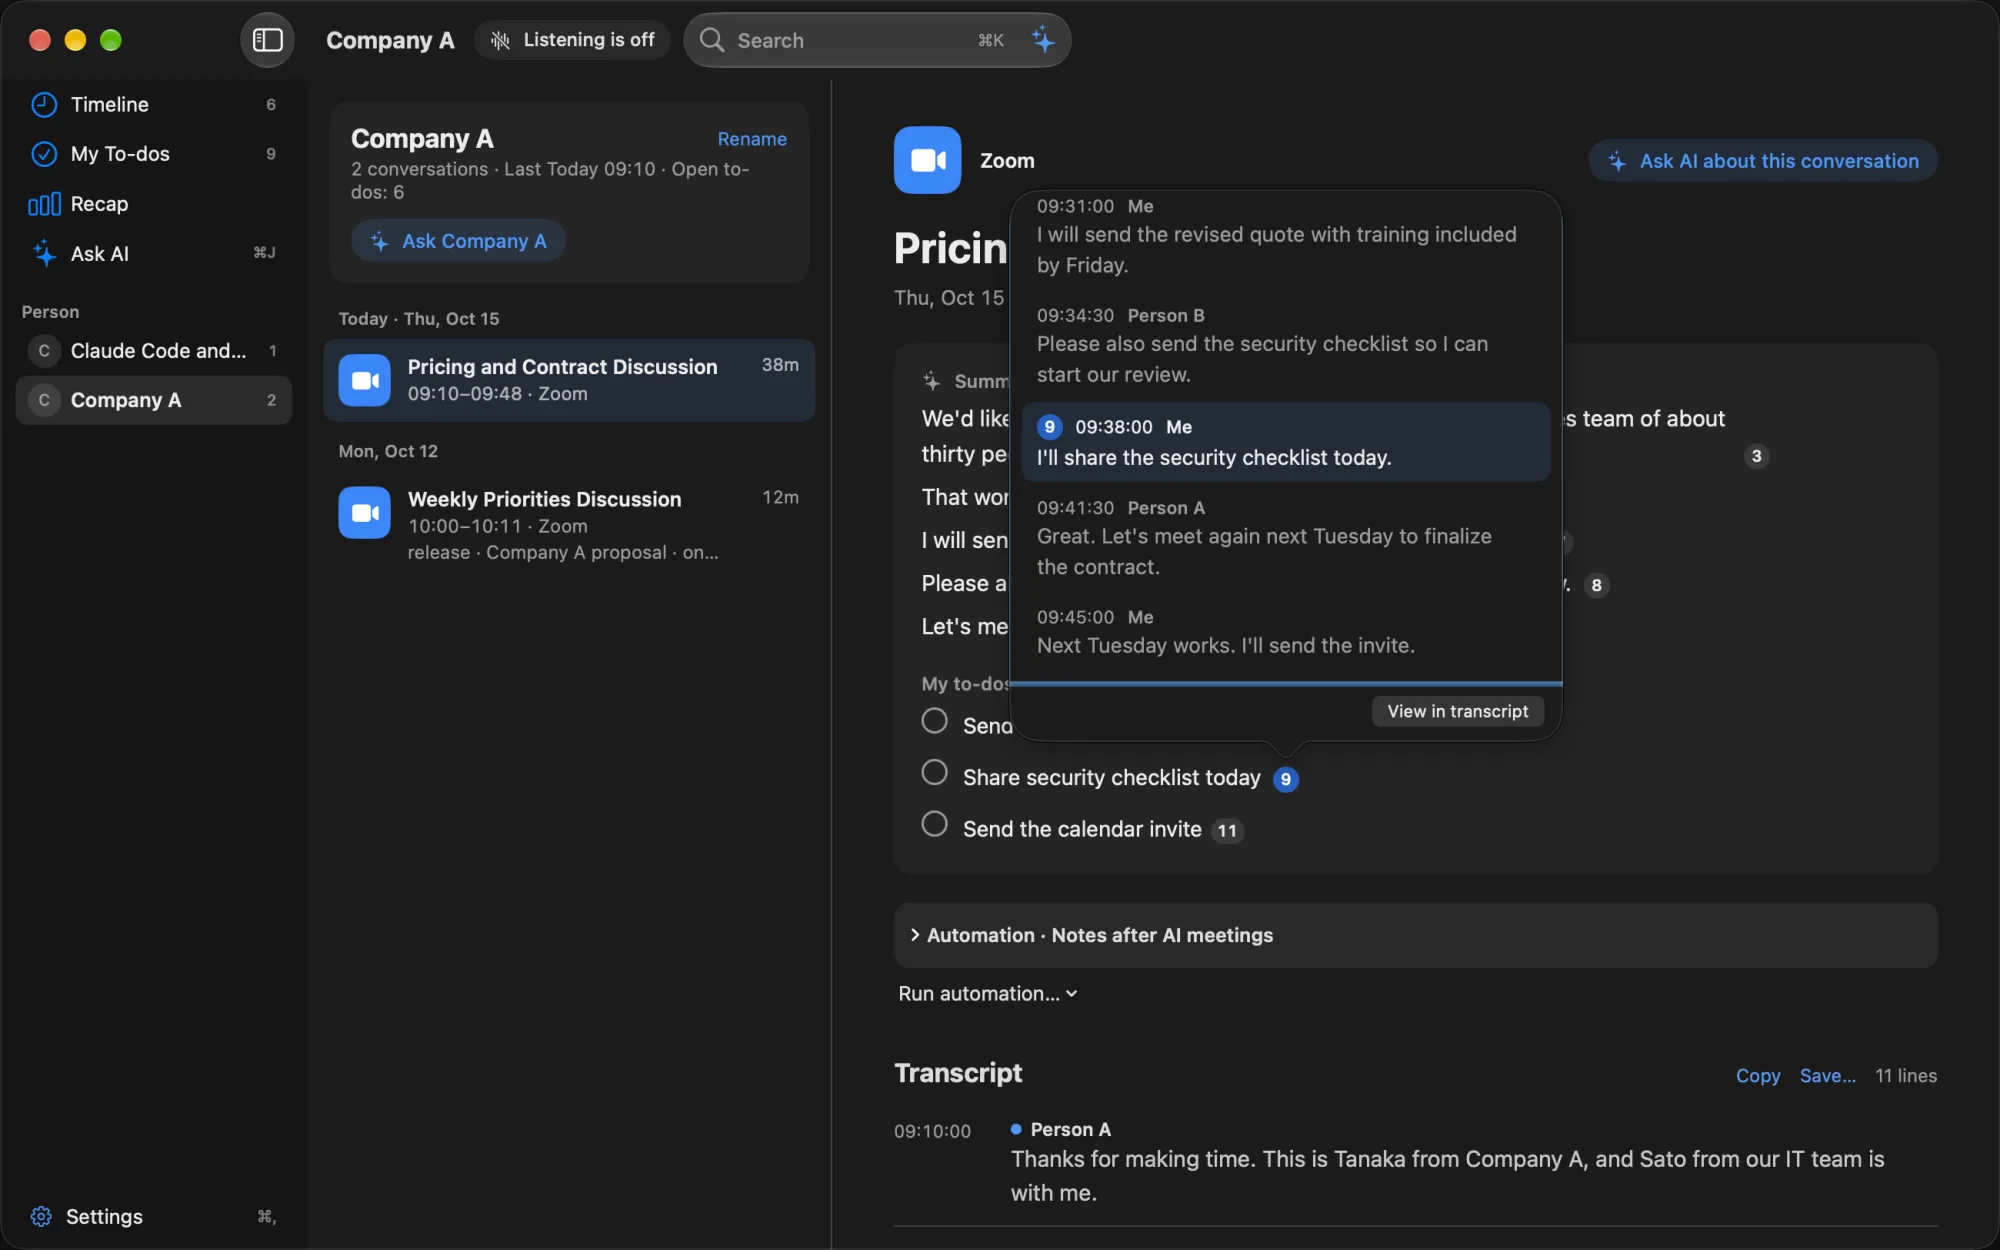
The numbers after sentences in the summary and in “My to-dos” point to the lines each sentence came from. Click a number and a popover opens right there, showing the source line and the five lines before and after it, with their times and speakers. The details view does not move.
Use the arrow keys to see the lines before and after. “Show in transcript” takes you to that line in the transcript. Close it with esc, by clicking outside it, or by clicking the same number again.
Copying and saving transcripts
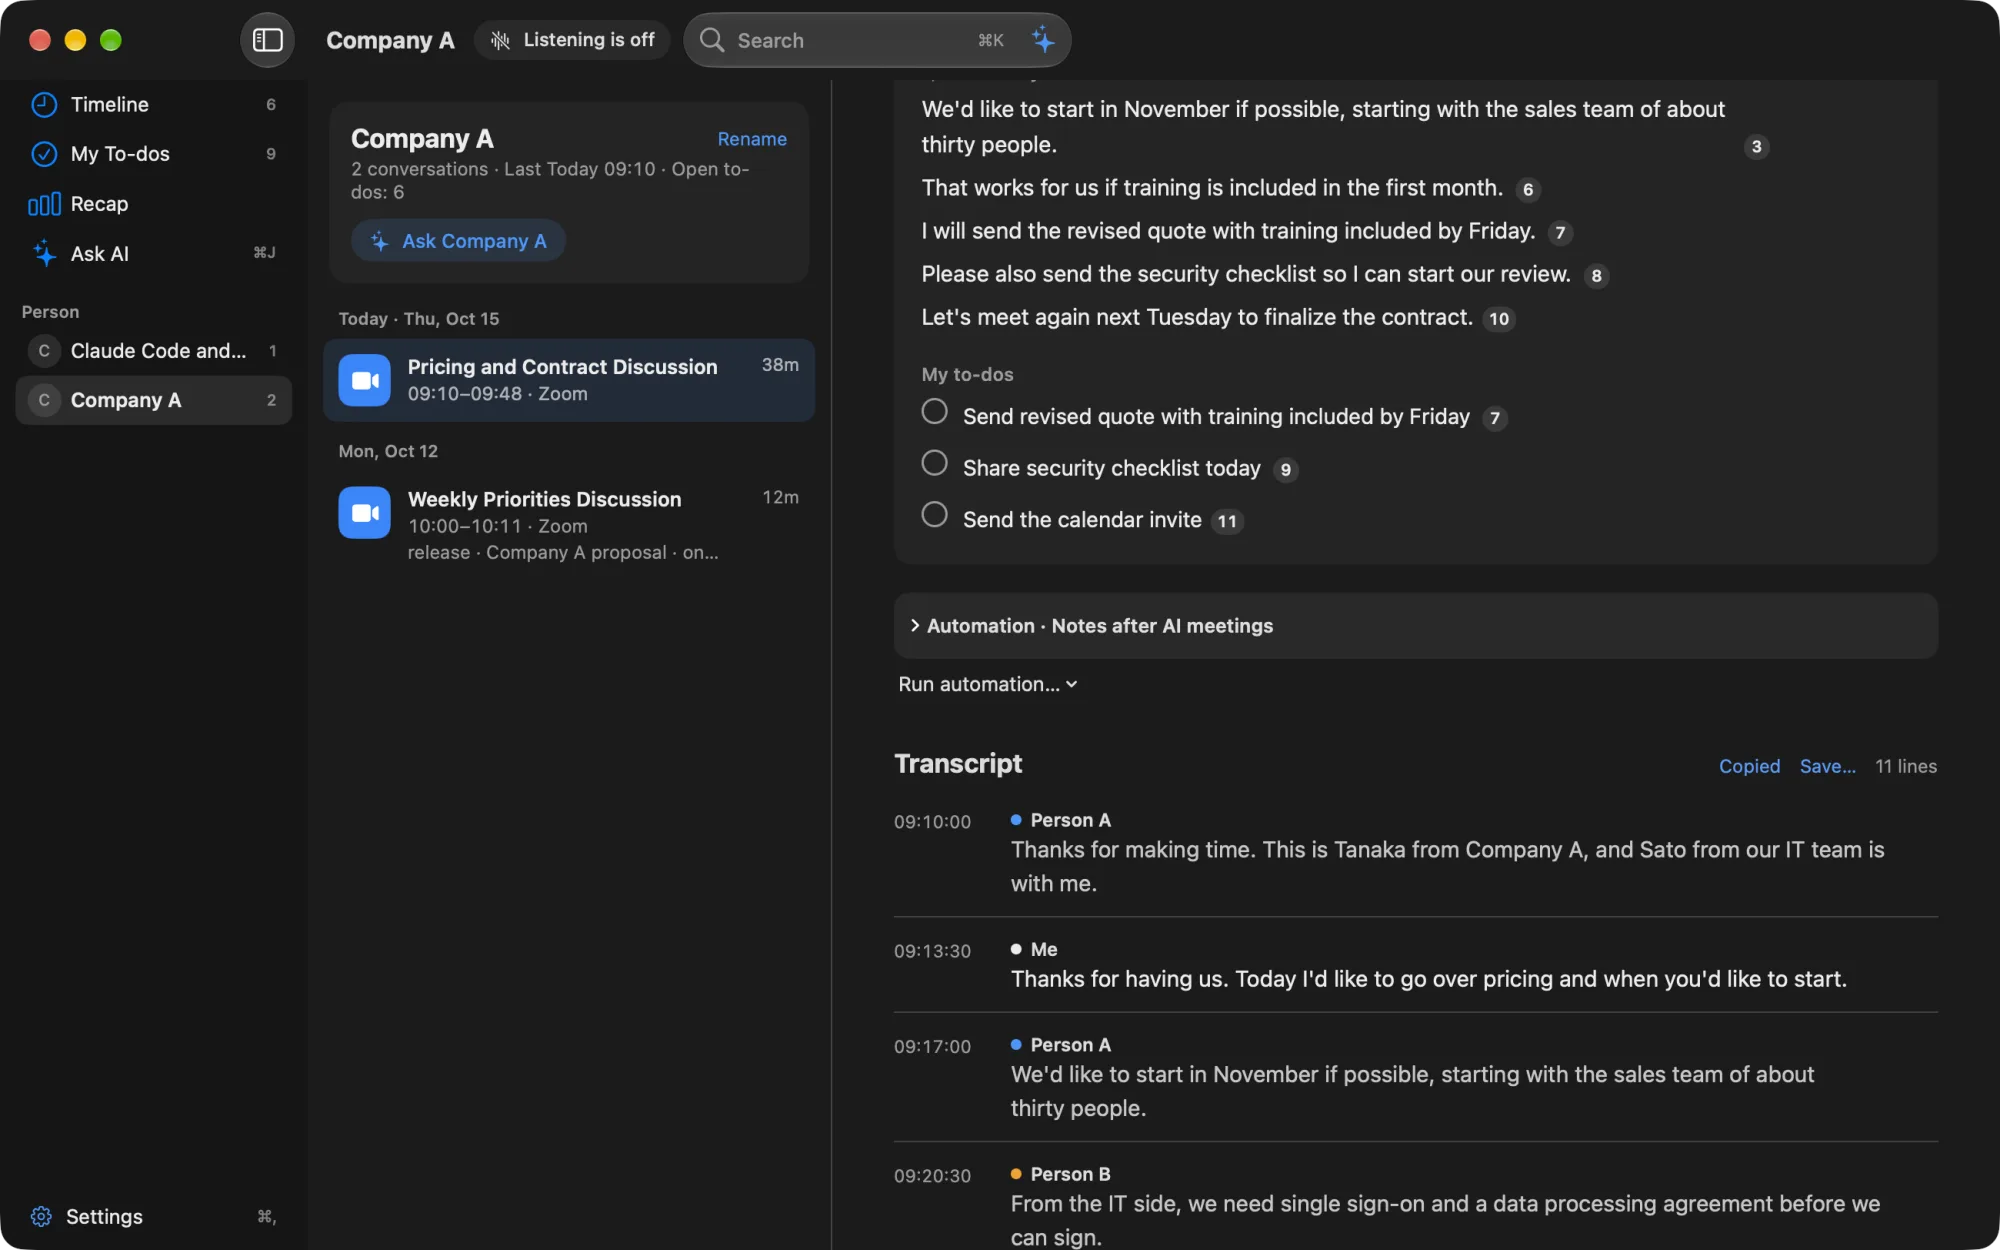
“Copy” in the transcript heading puts that conversation’s transcript on this Mac’s clipboard. “Save…” saves it as a text file (.txt). This works on Free too.
It contains the conversation’s title, date and time, and app, followed by one line each in the form “time speaker: text”. Speakers appear with the names shown on screen. The summary is not included. For a conversation that is still being listened to, it contains the lines up to the moment you clicked.
A saved file is outside Recall, so deleting the conversation does not delete the file.