 Recall
How to record internal audio on a Mac: macOS 27’s built-in option, BlackHole and OBS
On macOS 27 or later, a Mac can record internal audio with built-in screen recording. Steps for BlackHole and OBS on earlier Macs, what to check when there is no sound, and an option if you don’t need audio.
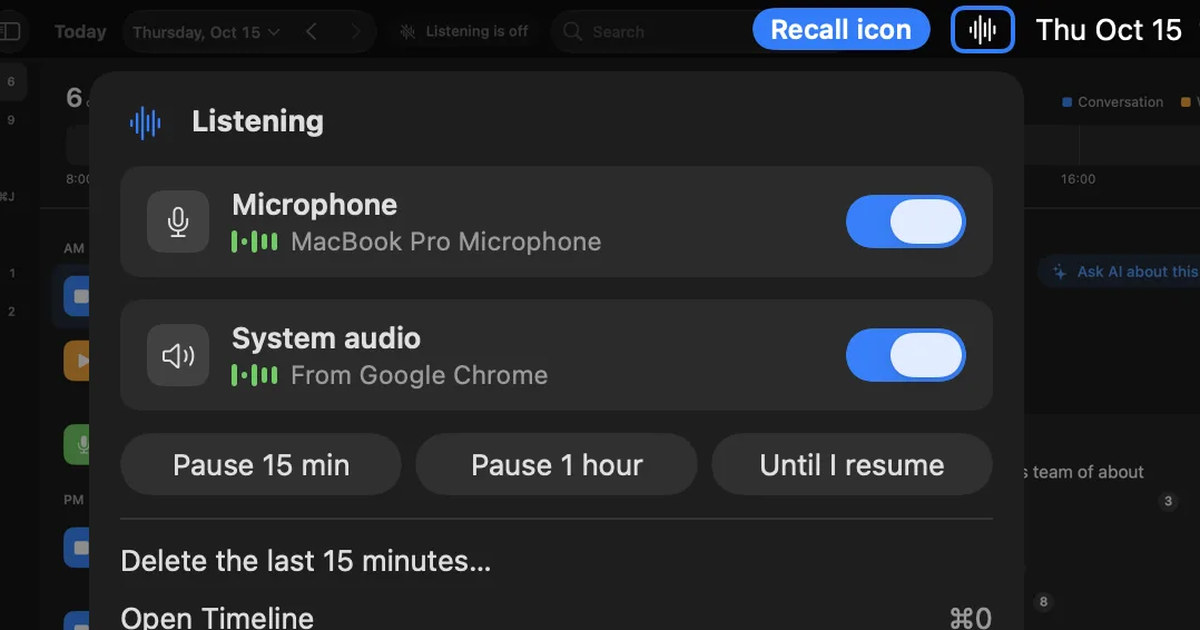
The short answer: macOS 27 or later can record it with the built-in screen recording
On macOS 27 Golden Gate or later, you can record a Mac’s internal audio with the built-in screen recording. Press Shift-Command-5, open Options, and choose Include System Audio. On earlier versions of macOS, you need an extra app such as BlackHole or OBS Studio.
Most pages that say a Mac cannot record internal audio by itself describe macOS 26 and earlier. Apple’s guide lists the system audio option as a feature of macOS 27 Golden Gate or later. So check your version first: choose About This Mac from the Apple menu.
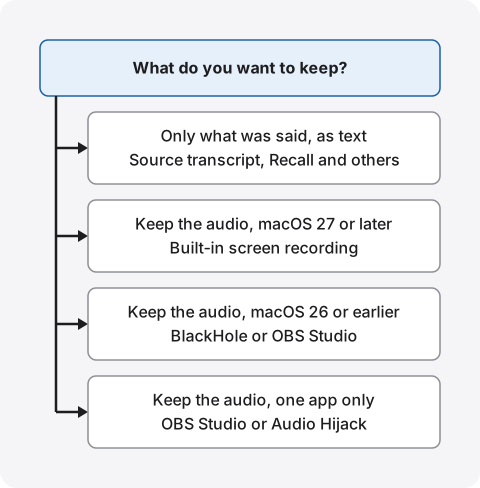
Decide one more thing up front: do you need an audio file, or do you only need to check what was said later? If it is the second, you can keep the words without recording.
This article is written by KOROMO K.K., the company that develops Recall, a Mac transcription app. Recall turns your Mac’s audio into text, but it cannot keep an audio file. It is the wrong tool if you need one, so the other methods come first here.
| Your situation | What fits, and where to read next |
|---|---|
| You have macOS 27 or later and want the easy way | Built-in screen recording. See the macOS 27 steps |
| You have macOS 26 or earlier, or an Intel Mac | BlackHole or OBS Studio. See the BlackHole steps |
| You want the sound of one app only | OBS Studio or Audio Hijack. See the app comparison |
| You want your own voice in the recording too | See recording your voice as well |
| You recorded, but there is no sound | See what to check |
| You do not need audio, only to find the words later | See keeping text instead |
What a Mac’s built-in tools can and cannot do
Among the built-in tools in Apple’s guides, the one that records internal audio is screen recording on macOS 27 or later. Voice Memos and QuickTime Player’s audio recording capture a microphone, so they cannot directly record the sound playing inside the Mac.
| What it records | Resulting file | |
|---|---|---|
| Screen recording (macOS 27 or later) | Internal audio and microphone | Video (.mov) |
| Screen recording (macOS 26 or earlier) | Microphone | Video (.mov) |
| QuickTime Player audio recording | Microphone | Audio |
| Voice Memos | Built-in mic, headset or external mic | Audio |
macOS 27 or later: choose Include System Audio
These steps follow Apple’s guide.
- Press Shift-Command-5 to open the Screenshot tools.
- Choose Record Entire Screen, Record Selected Window or Record Selected Portion.
- Click Options and choose Include System Audio. To add your own voice, choose a microphone in the same menu.
- Click Record and play what you want to capture.
- Click the Stop button in the menu bar, or press Command-Control-Esc.
The result is a video with sound, saved to the desktop by default. You can change the location under “Save to” in Options. If you only need the sound, follow the next section. Notification sounds may end up in the recording, so turn on Do Not Disturb first.
There are limits. macOS 27 is for Apple silicon Macs, and Apple’s list of compatible computers has no Intel Macs. MacGeneration reports that the audio is recorded as 128 kb/s AAC. That is enough to listen back to a talk, but choose another method for production work where quality matters. We did not find audio quality details in Apple’s guide.
Taking only the audio from a recording
To get only the audio from a screen recording, use QuickTime Player’s Audio Only export. The file is smaller than the video, so you do not need to keep the video just to listen again.
- Open the saved .mov in QuickTime Player.
- Choose File > Export As > Audio Only.
- Choose a name and location, then click Save.
Apple’s guide says this exports an Apple MPEG-4 audio file with an AAC track. It also says that if the export options are unavailable, the recording may be copy-protected. If you need MP3, convert the file with another app.
macOS 26 or earlier: built-in screen recording only offers a microphone
On macOS 26 or earlier, screen recording lets you choose a microphone. You could let the mic pick up the Mac’s speakers, but room noise and your voice get in, and the sound is muffled. Treat that as a stopgap for checking what was said. For a clean recording, go on to BlackHole.
Voice Memos and QuickTime Player: for your own voice and in-person talks
Voice Memos is the first app many people think of. Apple’s guide lists the built-in mic, a compatible headset or an external mic as inputs. New Audio Recording in QuickTime Player also uses a microphone, with a High (AAC) or Maximum (uncompressed) quality setting.
These two are enough for voice notes and in-person meetings, with nothing extra to install. They do not suit recording the other side of a Zoom call or the sound of a video.
How to record internal audio with BlackHole
BlackHole is a free virtual audio device that passes sound from one app to another, and it works on macOS 26 and earlier. You send the Mac’s sound to this invisible device as well, then choose it as the “microphone” in your recording app.
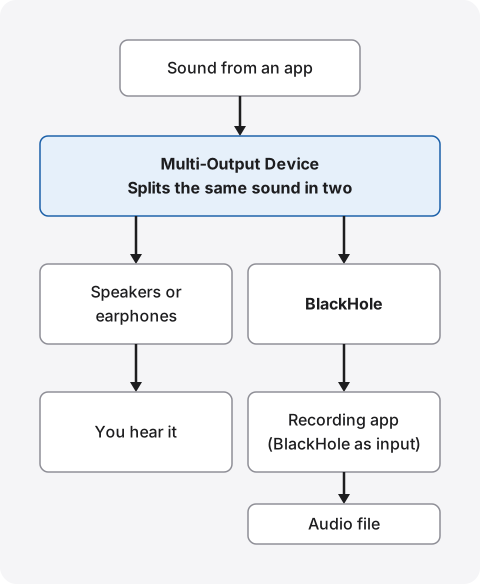
Know three things first. The official page says the license is GPL-3.0 and that it supports Intel and Apple silicon Macs on macOS 10.10 or later; for new versions such as macOS 27, see its latest notes. It adds a component to the Mac’s audio system, so ask your administrator on a work Mac. And a wrong setting can silence the Mac for a while, but switching the output back fixes it.
Install BlackHole
You can install BlackHole with an installer or Homebrew. If you do not normally use Terminal, choose the installer. For recording, the two-channel “BlackHole 2ch” is enough.
- Open the BlackHole site. Its main button is a donation with the download. If you do not donate, click “I can’t afford to donate” to see how to get it from a channel on the chat service Discord or with Homebrew.
- Close all apps that use audio.
- Run the installer, and restart if asked.
If you use Homebrew, brew install blackhole-2ch also installs it.
Create a Multi-Output Device so you can hear the sound
If the output is BlackHole alone, the sound records but you cannot hear it. A Multi-Output Device avoids this by sending sound to both the speakers and BlackHole. This solves most “I can’t hear anything with BlackHole” problems.
- Open Audio MIDI Setup. Spotlight will find it.
- Click + at the lower left and choose Create Multi-Output Device.
- Under Use on the right, tick your speakers (or earphones) and BlackHole 2ch.
- Set Primary Device to the speakers, and check that they are at the top of the list. If BlackHole is on top, untick and retick it to change the order.
- Tick Drift Correction for BlackHole 2ch.
- In System Settings > Sound > Output, choose the new Multi-Output Device.
The creation steps are in Apple’s guide, and putting the speakers on top comes from BlackHole’s own instructions. Those instructions also say macOS cannot change the volume of a Multi-Output Device. Adjust the volume for each device in Audio MIDI Setup.
Choose BlackHole in your recording app
Now choose BlackHole 2ch as the input in your recording app. Use QuickTime Player for an audio-only file, or screen recording to keep the picture as well.
- Audio only: in QuickTime Player, choose File > New Audio Recording, then choose BlackHole 2ch as the microphone in the menu next to the record button.
- With the screen: press Shift-Command-5 and choose BlackHole 2ch as the microphone in Options.
When you finish, set the Sound output back to your speakers. The keyboard volume keys then work again.
Recording your voice as well
To put internal audio and your own voice in one recording on macOS 27 or later, choose both Include System Audio and a microphone in screen recording. Apple lists them as separate options, so make a short test first to confirm that both are captured.
On macOS 26 or earlier, combine BlackHole and the Mac’s microphone into an Aggregate Device. As Apple’s guide explains, click + in Audio MIDI Setup, choose Create Aggregate Device, tick both under Use, and tick Drift Correction for the one you did not choose as Clock Source. Then choose that device as the microphone in your recording app. Some apps may capture only some of the inputs, so make a short test to confirm that both are captured.
Removing BlackHole
When you no longer need it, switch the output back, delete the Multi-Output and Aggregate Devices, then remove BlackHole. The simplest way is the uninstaller on the official page. The same page also explains how to remove it by hand in Terminal.
OBS Studio and Audio Hijack: comparing the app options
If you would rather not set up an extra device, use an app that can take the Mac’s sound directly. OBS Studio is the free option, and Audio Hijack is a paid app focused on audio. Both can record just one app, which also helps keep notification sounds out of a recording.
| Method | Suits you if | Watch out for |
|---|---|---|
| Built-in screen recording | You have macOS 27 or later and want the easy way | It makes a video. Export for audio only |
| BlackHole | You have macOS 26 or earlier and want an audio file | Setup takes effort. You switch the output each time |
| OBS Studio | You want it free, per app, and perhaps with video | A feature-rich streaming app that takes learning |
| Audio Hijack | You record often and want audio files directly | Paid (see the official site for pricing) |
OBS Studio: free, and can record per app
OBS Studio is free, open source software for video recording and live streaming. OBS’s official guide says that OBS Studio 30 or later on macOS 13 or later can use the macOS Audio Capture source to record all desktop audio or a single app. No extra device like BlackHole is needed.
- Install OBS Studio from the official site and open it.
- Click + under Sources and add macOS Audio Capture.
- Choose the whole Mac or the app you want.
- If asked, turn on Screen & System Audio Recording.
- Click Start Recording. The meters in the mixer show the sound.
OBS is a video recording app, so it saves a video-format file. If you want an audio file right away, BlackHole with QuickTime Player, or Audio Hijack, takes fewer steps. Labels may change between versions.
Audio Hijack: focused on recording audio
Audio Hijack is a paid app from Rogue Amoeba that records audio on your Mac. Its site lists uses such as saving web streams, recording calls on Zoom or FaceTime, and recording podcasts. The same download serves as the free trial and the full version, and a license key unlocks the full version. The trial has limits. The current version supports macOS 14.4 through macOS 27.
If you record often for work, it saves the effort of switching outputs with BlackHole. If you record a few times a month on macOS 27 or later, first see whether built-in screen recording is enough.
What to check when internal audio does not record
When a recording has no sound, check the audio option, the app’s permission, then the output. With built-in screen recording, first check that Include System Audio is ticked in Options. The selection may differ from your last recording.
- Your version: if there is no Include System Audio, you may be on macOS 26 or earlier.
- The app’s permission: for third-party apps, turn it on in System Settings > Privacy & Security > Screen & System Audio Recording. Apple’s guide says you can allow both screen and audio, or audio only. Reopen the app afterwards.
- The microphone permission: BlackHole is chosen as an input, so the recording app also needs microphone permission. Check Microphone in Privacy & Security.
- The output (BlackHole): check that Sound output is the Multi-Output Device and the recording app’s input is BlackHole 2ch.
- The indicator: Apple’s guide says a purple dot in Control Center means system audio is being recorded. Only one dot shows at a time, so the orange microphone dot may replace it.
- The playback volume: if the playing app is muted, the recording may be silent too. Record a few seconds and listen back.
Sometimes the picture cannot be captured. Apple’s guide says some apps, such as the Apple TV app, may not let you record their windows. That may be a limit set by the app rather than a fault in your settings. Do not try to get around it.
If you do not need an audio file, you can keep text instead
If what you want to check later is what was said, you do not need an audio file. Searching words is often quicker than listening through an hour of recording. With no audio, there is also less to store and delete with care.
There are three ways, depending on what you want to keep.
- Use the source’s transcript: some services, including YouTube and meeting tools, have transcripts. See how to transcribe webinars and videos.
- Record, then transcribe the file: if you want both audio and text, transcribe a recording made with this article’s methods using MacWhisper or similar. See how to transcribe locally on a Mac for a product comparison.
- Turn what you hear into text directly: with no recording step, keep only the text of what you heard on your Mac. Recall works this way.
Recall stays in the menu bar and transcribes your Mac’s sound and your microphone. It needs no extra device like BlackHole, and hears the Mac’s sound through the macOS Screen & System Audio Recording permission. Reopen Recall once after allowing it. It discards audio as soon as it is transcribed, so you cannot listen again or export an audio file. You also cannot check a mistranscription against the original sound, and it cannot import audio files. What stays is text such as transcripts and summaries, and what you can export is the transcript of one conversation as a .txt file.
Check whether you may record first
Being able to record is not the same as being allowed to. For internal audio, check the service’s terms, copyright, and what you tell other people in a meeting. This is general information, not a judgment on a specific use. If unsure, ask the organizer, the person in charge at your employer, or a lawyer.
Video and music streams: read the terms and copyright rules
A service’s terms are a separate agreement from the law. For example, YouTube’s Terms of Service prohibit copying or downloading content unless YouTube expressly authorizes it or YouTube and the rights holders give prior written permission. Music and film services have rules of their own.
Article 30 of Japan’s Copyright Act lets a person copy a work for personal use or use within a limited circle such as the family. Copying by removing copy protection, and downloading music or video you know comes from an infringing stream, fall outside that exception. Material from Japan’s Agency for Cultural Affairs also marks use for work as outside it. Passing a recording to others or publishing it changes things further. Other countries have other rules.
Online meetings: tell people you are recording
Recording inside the Mac, unlike a meeting tool’s own recording, shows no notice on other people’s screens. So tell them yourself. This is the same for BlackHole, OBS Studio, built-in screen recording, and Recall, which keeps no audio.
It need not be complicated. At the start, say something like: “I’m recording (or transcribing) this for my notes so I can check the details later, and it won’t leave the company.” Stop if someone objects. See how to tell the other side for sample phrases. If you can use the meeting tool’s recording, which notifies participants, consider that first. For Zoom, see the Zoom transcription article.
Follow your employer’s rules on recording.
Decide where the audio file goes
A recording holds other people’s exact words. Decide where to save it, who gets it, and when to delete it before you record. If your Desktop and Documents folders sync with iCloud, recordings saved there sync too. Delete files once you are done with them.
Who Recall suits, and who it does not
Recall does not make audio files. It keeps what you heard on your Mac as text so you can find it later. Check these conditions first.
- Supported Macs: Apple silicon Macs with macOS 26 or later only. Summaries and to-dos are made when Apple Intelligence is on, whatever the memory (except when you choose an outside AI for organizing meetings on Pro). Answers to questions need Apple Intelligence on only on Macs with less than 16GB of memory.
- Retention and viewing: the default retention is 90 days on Free and unlimited on Pro. Free shows the last 14 days. There is no limit on how much is transcribed.
- When records leave: only when you use a feature you turned on in Pro, or copy or save something yourself. The full list is under When records leave the Mac.
- Pro license: if the license cannot be checked for 14 days, Pro features stop. They return once it connects.
- Languages: Japanese and English. You choose one in the listening language setting.
Recall suits you if
- You wanted a recording only to check the details later.
- You have forgotten to press record and lost a meeting.
- You want to search what you heard by words, without opening files.
- You would rather not install an extra device like BlackHole.
- You want text kept and no audio.
Free to use · No account needed · macOS 26 or later · Mac with Apple silicon · By downloading, you agree to the Terms of Service
Recall does not suit you if
- You need an audio file to listen to, edit or share.
- You want to save music or sound material.
- You want to transcribe audio or video files you already have.
- You use an Intel Mac, a Mac before macOS 26, Windows or a phone.
- You want to avoid being always listened to, and prefer an app that runs only when recording.
You can pause Recall and choose apps not to record, but by default it keeps listening. It stays running, so it uses some CPU and battery. If you need an audio file, use the methods in the first half of this article.
Frequently asked questions
Can a Mac record internal audio with built-in tools alone?
Yes, on macOS 27 Golden Gate or later. Choose Include System Audio under Options in screen recording. On macOS 26 or earlier the built-in tools only offer a microphone, so use BlackHole, OBS Studio or similar.
Is there a free way to record internal audio?
Yes. Built-in screen recording on macOS 27 or later, OBS Studio and BlackHole have no required fee. BlackHole’s download page asks for a donation, but without one you can get it through Discord or Homebrew. Audio Hijack is paid, with a trial.
Can I save only the audio, not a video?
Yes. Open the screen recording in QuickTime Player and choose File > Export As > Audio Only. With BlackHole, you can record audio alone from the start using New Audio Recording in QuickTime Player.
I can’t hear anything after installing BlackHole.
The output is probably set to BlackHole alone. Create and choose a Multi-Output Device, or set the Sound output back to your speakers. Put the speakers at the top of the Multi-Output Device, and change the volume in Audio MIDI Setup.
Can QuickTime Player record internal audio?
Not by itself, because its audio recording uses a microphone. With BlackHole installed, you can choose it as the input. To record internal audio on macOS 27 or later, press Shift-Command-5 and choose Include System Audio in screen recording. Apple’s guide does not list that option for QuickTime Player’s own Screen Recording window.
Can Recall record internal audio?
No. Recall turns your Mac’s sound into text, but it discards the audio right away, so no audio file remains. Use another method here if you want to listen again. Recall suits people for whom the text is enough.
May I record an online meeting through internal audio?
Tell the other people and get their agreement first. Recording inside the Mac shows them no notice, so it is easy to do without them knowing. Follow any rules from your employer or the organizer. The same applies when you keep only text.
Checked on November 4, 2026. The steps come from Apple’s guides (recording the screen, Screenshot, recording permissions, Multi-Output Device) and the official pages of BlackHole, OBS Studio and Audio Hijack. We have not compared sound quality or tested each app on macOS 27. Labels may change between versions. The copyright notes describe Japanese law in general and are not legal advice. Details of Recall come from Privacy and data, Getting started and Plans and licenses.
Free to use · No account needed · macOS 26 or later · Mac with Apple silicon · By downloading, you agree to the Terms of Service
Get the product overview (PDF) by email →
Related articles
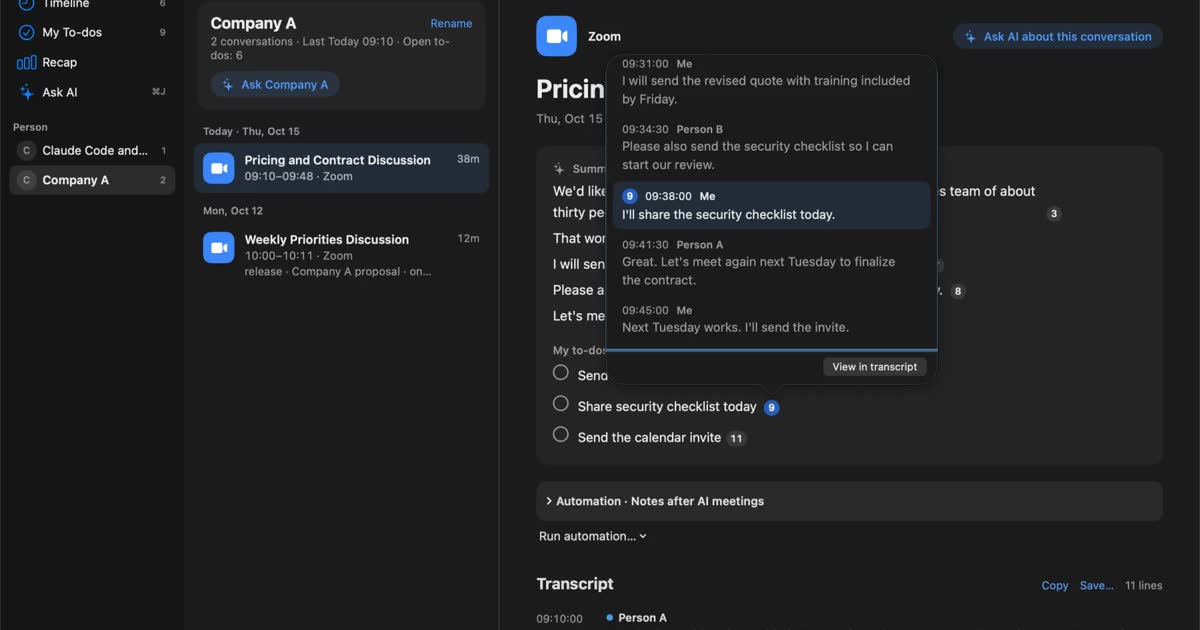
How to transcribe locally on a Mac: keeping meetings inside your company
How to transcribe on a Mac without sending audio to the cloud. Compare Notes, MacWhisper, Aiko, whisper.cpp, Recall and more, and check the four places records can still leave.
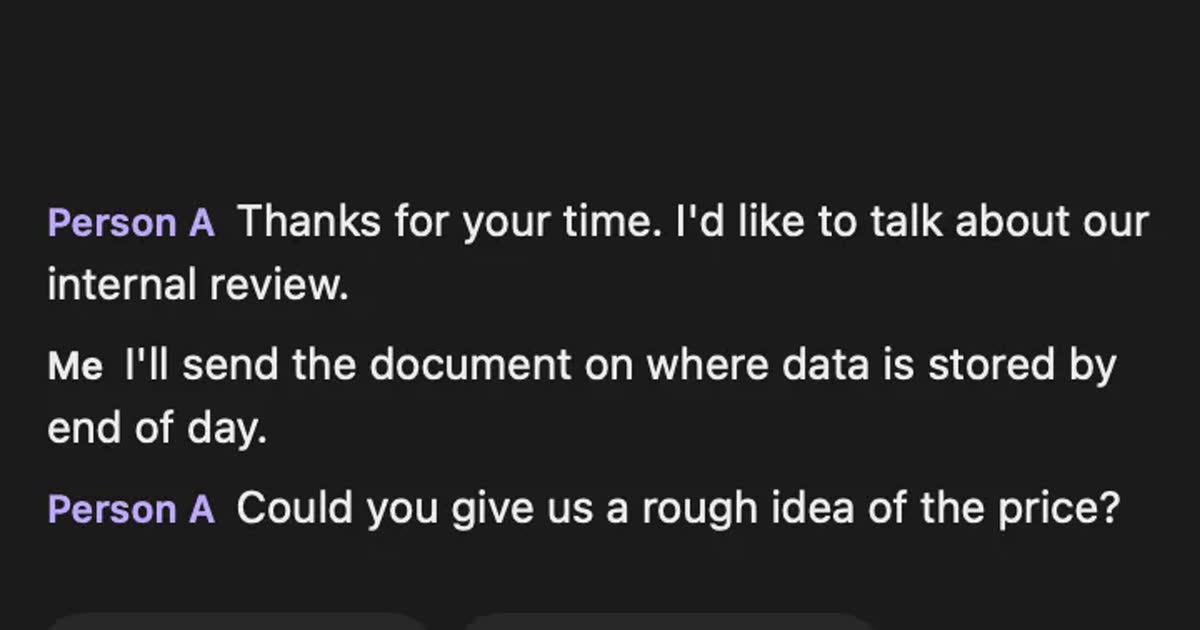
How to transcribe webinars and videos so you can find them later
Ways to turn webinars and videos into searchable text, comparing source transcripts, Notta, MacWhisper and Recall, plus what to check on copyright and terms.
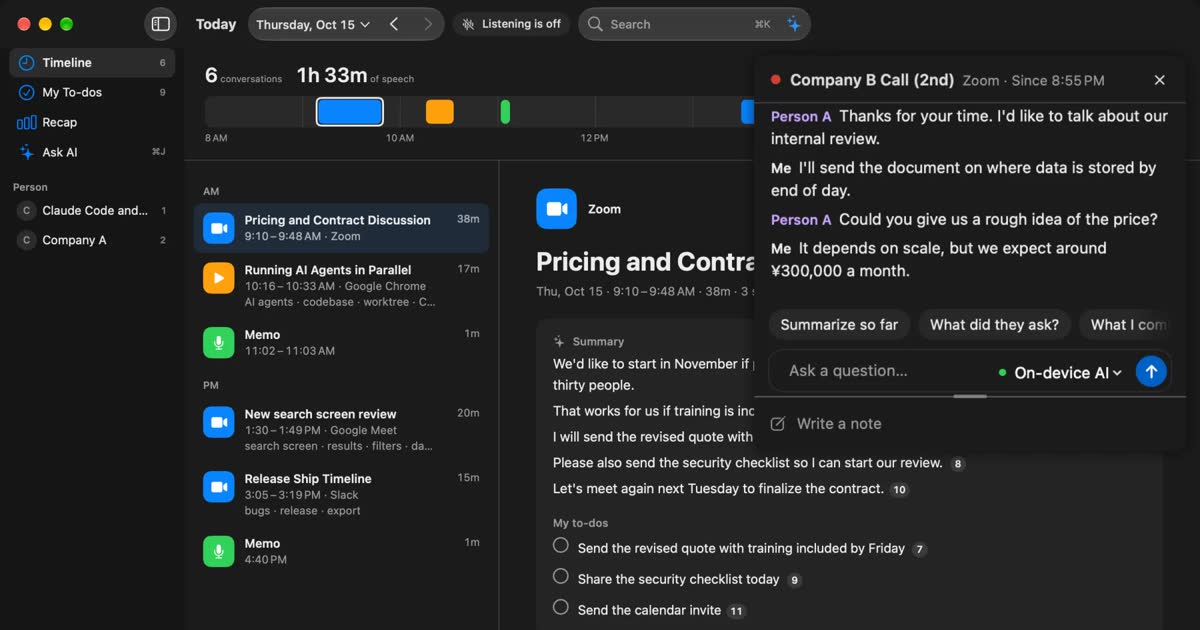
MacWhisper vs Recall: how they differ before you switch
Looking for a MacWhisper alternative? Compare audio files, always-on capture, saved audio, pricing and requirements, and see who each app fits.
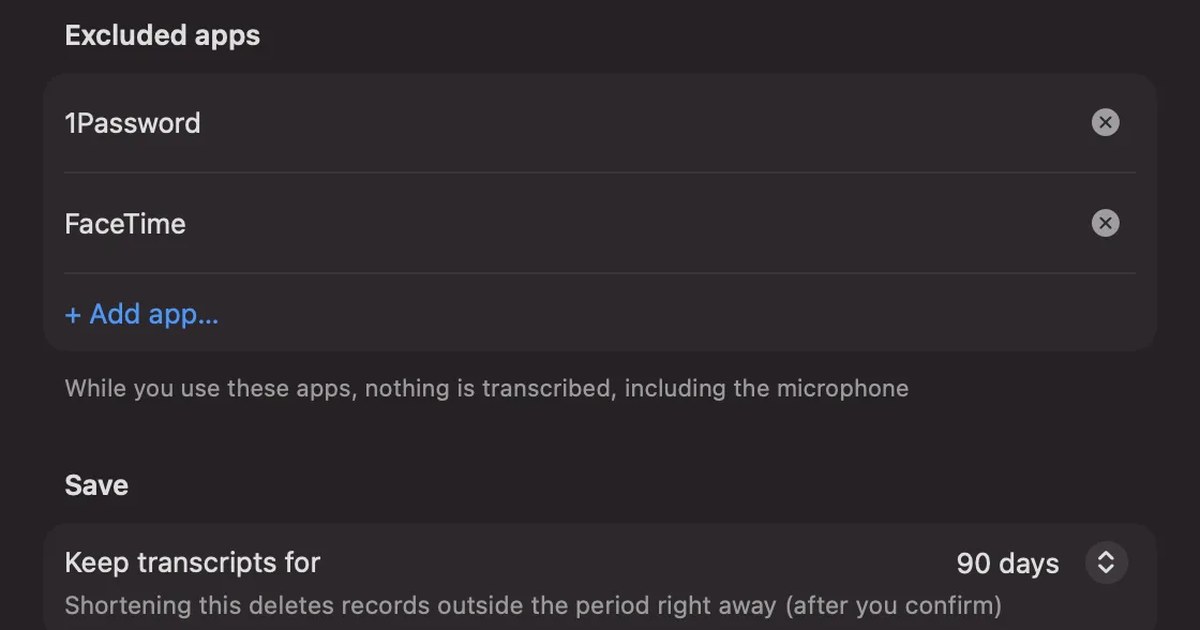
Can you record a FaceTime call? iPhone, Mac, audio, and keeping a transcript
Yes: on iPhone and Mac, Call Recording records a one-to-one FaceTime audio call, and both people hear a notice. Steps, where recordings and transcripts go, why the button may be missing, what screen recording, Live Captions and Live Photos keep for video calls, and telling the other person first.